Welcome to my crafty little world of things I heart…
Category Archives: Gift Ideas

Christmas Projects I’ve been working on…

by Holly

Sooo, it’s Christmas and I have been crafting my little heart out!!  I have too many projects to post right now, but here are a few:

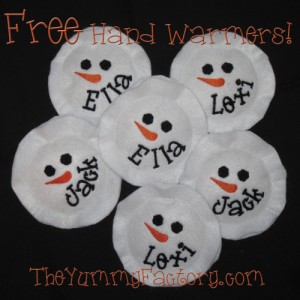
1st… a freebie for you!!

You can download these little Snowman Hand Warmers free right now on my Facebook page. 

They are sure to warm your hands and your hearts.  :)

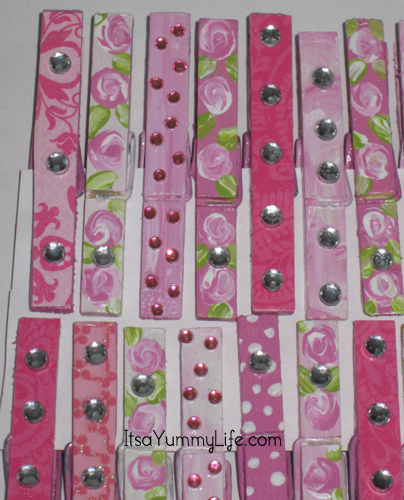
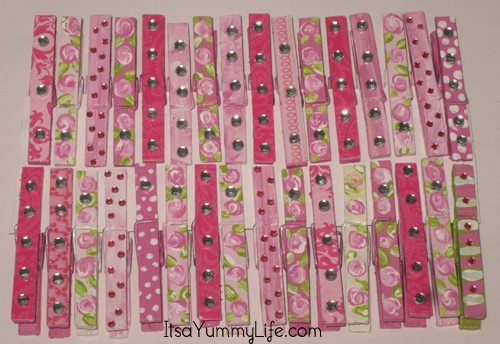
Painted Chip Clips

 I decided to pretty up cloths pins.  Some of them are modge podged with scrap book paper, and some I hand painted, (the roses, and the polka dots are painted ) and of course some bling! 

How to Paint Easy Roses and Polka Dots

To paint the roses, (2nd, 4th, and 7th in top row) Painted clips all pink and let them dry.  Then swirl pink and white together on the clips .  I use the acrylic paint from Michaels, Craft Smart, they are about $.50 each, and come in a bunch of colors. The leaves were easy peasy, just dip your paint brush in green and white, and paint one little stroke.   For easy polka dots, use the other end of your paint brush.  Just dot dot dot… Give it a try.  I did these one afternoon with the kids.  We always have fun painting together.  We talk, laugh, and paint.  It’s one of our favorite things to do.


We had so much fun, we did a set for all the Aunties and Grandmas for Christmas, can you tell what my favorite color is?  I need to think outside the box a little more on colors, but I can’t help it.  Pink just makes me so happy.  :)

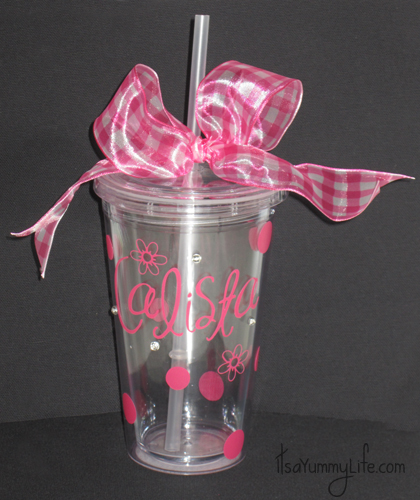
I finally got my Gazelle (by BossKut) paper cutter turned on, and here is my 1st project I did with vinyl letters on a drink cup,(and a little bling of course.)  I have to tell you, I am in love!!  I can tell this machine and I are going to be great friends:

Hope everyone is having fun crafting this season!

Merry CHRISTmas,

Holly


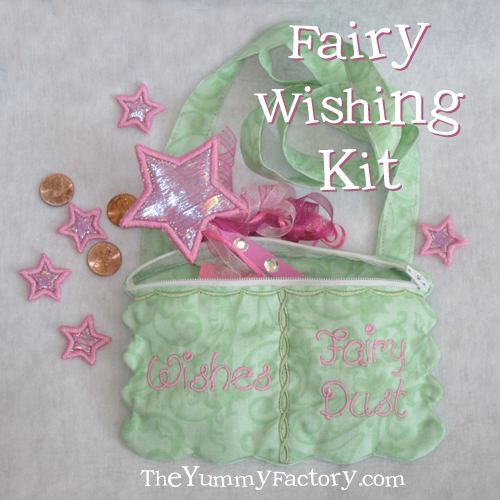
Fairy Wishing Kit

by Holly

I had to make this little bag.  Both of my girls are all about fairies.  We have all kinds of fairy books, we make fairy gardens, and we are always trying to see one.  It’s so magical, and I love every minute of it.

Everytime we go anywhere,  it seems we can’t pass a fountain, pond, or puddle we don’t stop to wish in.

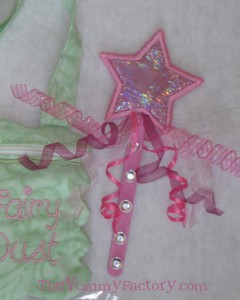
I made this little bag with a magic wishing wand:

It has fabric on both side with an opening at the bottom to insert a pencil or a popsicle stick.  I curled the ribbon, painted a popsicle stick, added some bling, and voila, it’s ready grant wishes!!

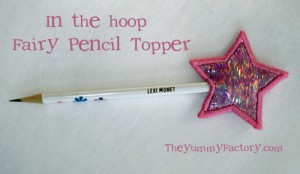
Add them to a pencil.  It’s a wand that writes magical things!!

Can also be used as a pencil topper.  Would be adorable as favors for a Fairy Party, or a Princess Party.  I ordered personalized pencils from OrientalTrading.com.  I love them!! I order them for my Girl Scouts, parties, for Christmas, for gifts!!  They are an easy way to make anything have that extra touch of personalization.

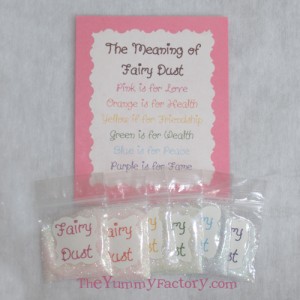
Lexi is crazy about rainbows.  So I thought we needed some fairy dust for all the colors in the rainbow.  This printable little card fits in the purse, just incase you need to help anyone decide what kind of wish they need.

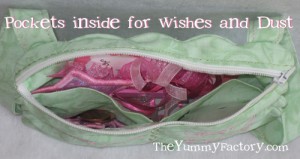
Inside the purse there are pockets.  One for Wishes, and one for Dust.  The bigger section of the purse is perfect for a camera.  You never know when you will spot a fairy and if you’re lucky, you will sneak a picture of one!

Everything done in one hooping.  Even the zipper is done in the hoop!!  Love that!!

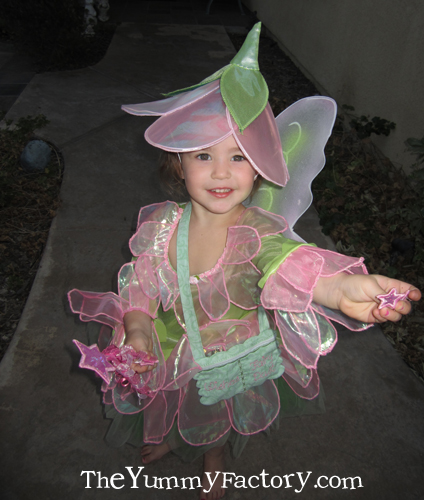
Here is my little Ella Rose (her name actually means Beautiful Fairy) So she is my little Fairy Flower.  :)  She is passing out wishes!!

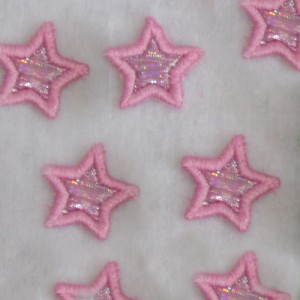
The wishes are about 1″ and thick.  They have stiff felt in the middle, so they are fun little chunky stars.  Lexi wants a million of them.  Looks like I will be making some more.  The good news, I can do a bunch of them in one hooping.

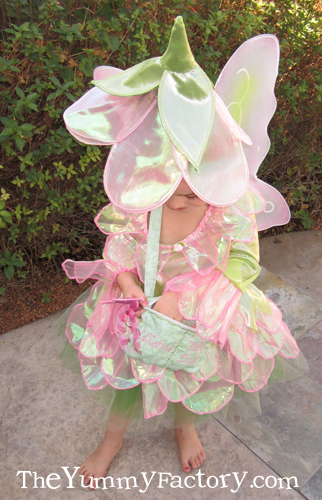
Ella getting out more wishes.  She’ll be granting them all day!!  What do you wish for??


Dog Birthday Party!!

by Holly

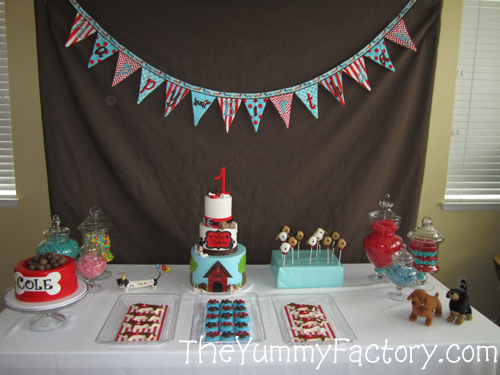
I am so excited to share this 1st birthday party with you!!  My sister-in-law out did herself.  She is a new mom, and new to embroidery.  She did everything so adorable, it just couldn’t stop taking pictures!!  Take a peek at my little nephew Cole’s 1st Birthday Party:

She sewed out a Birthday Banner from TheYummyFactory:

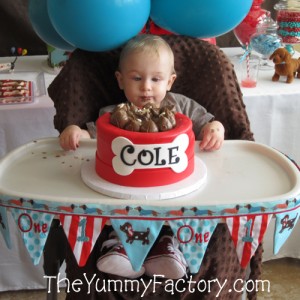
She embroidered a YummyFactory High Chair Banner:

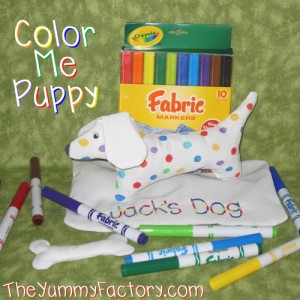
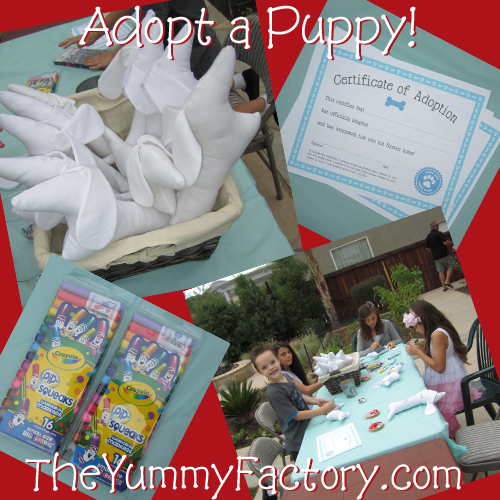
She made TYF in the hoop dogs for all the kids to adopt:

Kids loved coloring the dogs.  She even had adoption certificates and collars for them.  My Grandma wanted to take one home, so the kids did a pink one with a bow.  I wish I had a picture of them all, they turned out so cute!!

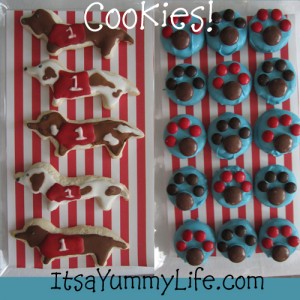
The cookies were sugar cookies and Oreos.  Click on the pic for the tutorial page:

The Paw Print cookies are chocolate dipped Oreos with M & M’s and Hersey Drops.  So cute!!

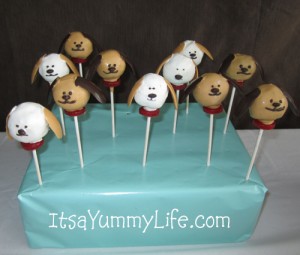
Cake Pops.  Ears done my letting melted chocolate dry in a spoon, nose is a half of an M & M.  Eyes piped on with royal icing. (recipe in my cookie tutorial.)

She wrapped water bottles,  and fancy tags on the straws

had little bones glued on toothpicks for the cheese picks.  The Dog Bones were made from Pretzel sticks and marshmallows dipped in chocolate.  Really yummy, kind of like a s’more!

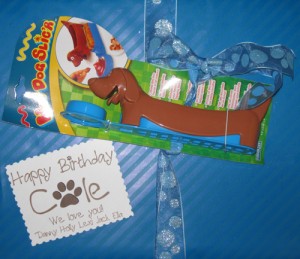
Here is our tag on the presents we gave Cole.  I had fun using a paw print in his name on the tag  to go with his theme.

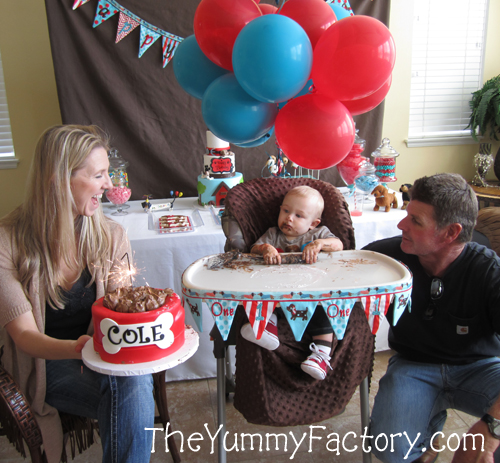
We all sang Happy Birthday to the little man, as Sparklers lit up his cake!!

What a great Party Jennifer!!  I love you!  I am so glad you’re my sister-in-law.

Hugs,

Holly 


Pumpkin Hat

Monsters and Pumpkins

by Holly

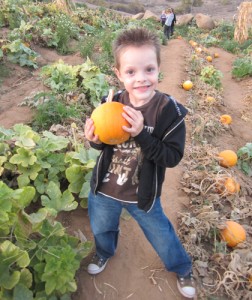
Jack picked out a pumpkin for me…

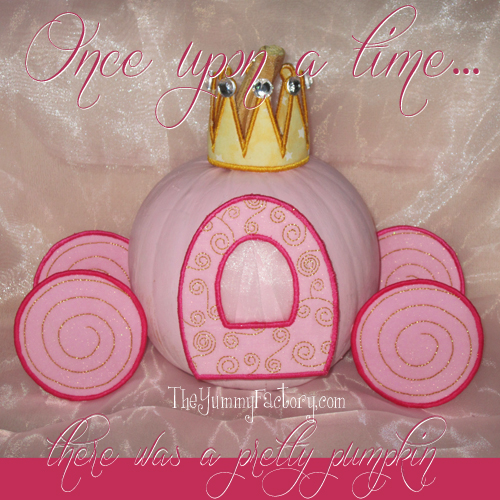
It sat on my counter just waiting for a fairy godmother to stop by…

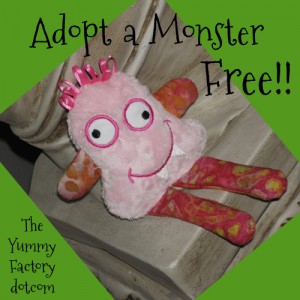
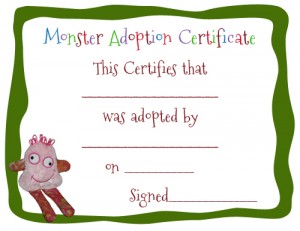
Adopt a Monster.  Free download for you!!

Monster comes with a Birth Certificate too!

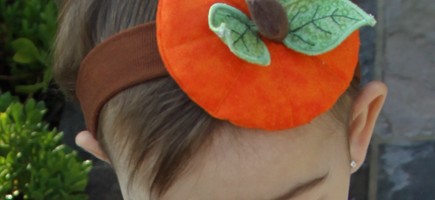
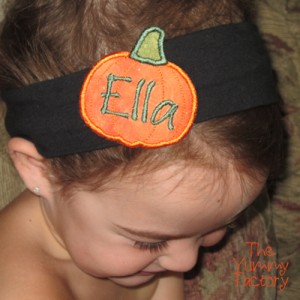
Pumpkins for Baby’s hair:

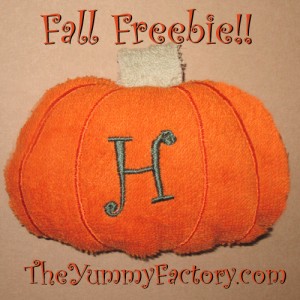
Fall Freebie for you!

In the hoop Pumpkin!!

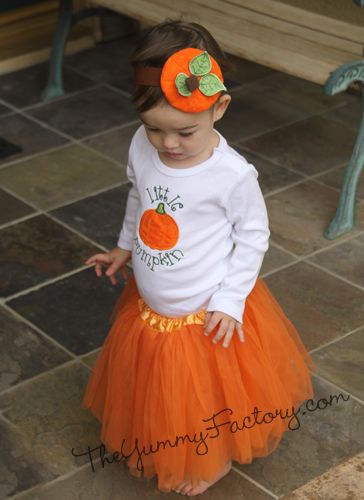
and my little Pumpkin Ella…

I love love love this Halloween outfit.  The Pumpkin Hat is done in the hoop with just a few extra stitches by hand.  Easy Peasy!

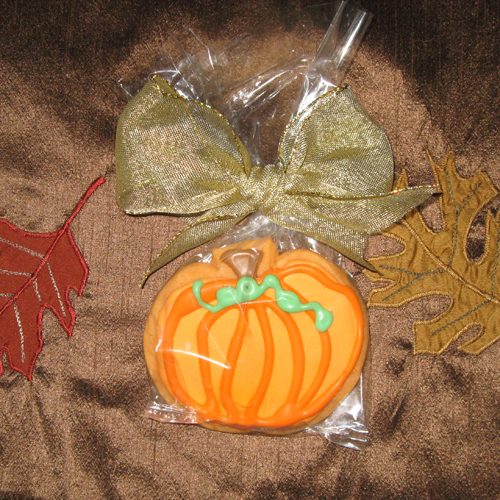
Last but not least..  Don’t forget to make some cute cookies for all your friends

I have done a complete tutorial on how to make your cookies look like these:

Wishing you a wonderful Halloween.

Hugs,

Holly


Mother’s Day Muffins and Altoid Baby Nursery

by Holly

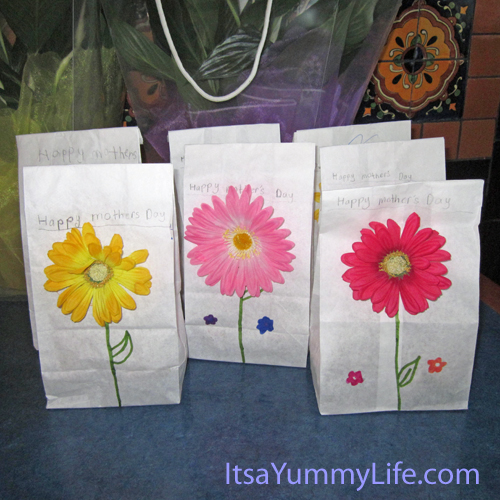
Every year we go to brunch for Mother’s day with the family.  This year we baked Cinnomon Streusel Muffins for all the Mom’s in the family.  While the muffins were baking, the kids colored the bags, and I hot glued some flowers on.  I think they turned out cute for a last-minute treat.

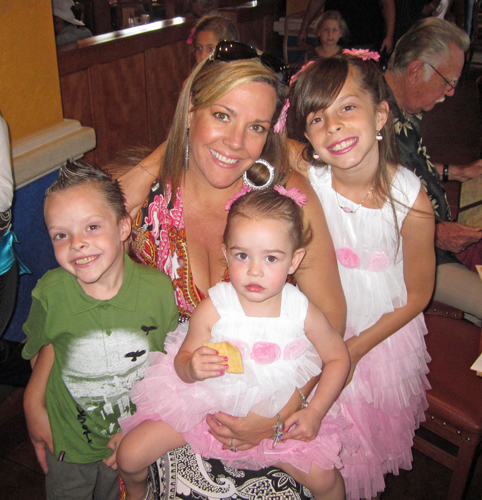
Me and the kids at brunch:

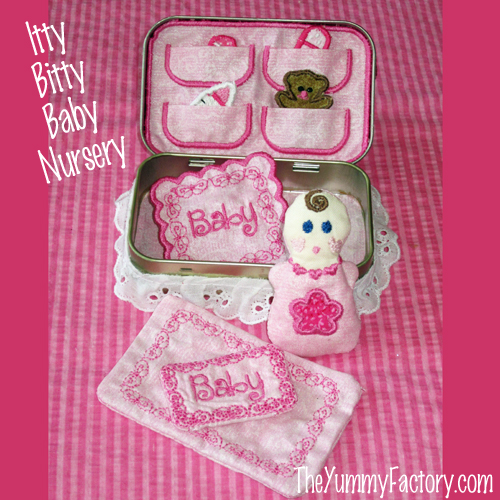
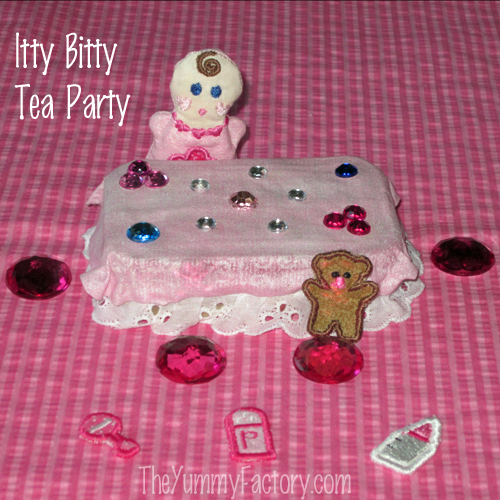
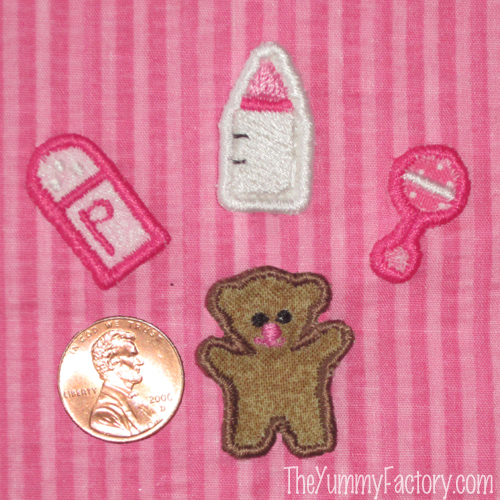
My new little Altoids Itty Bitty Baby Nursery.  All done in the 4×4 hoop.  This has been a popular little baby!!

http://www.theyummyfactory.com/index.php?act=viewProd&productId=414


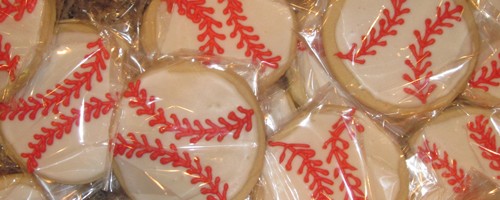
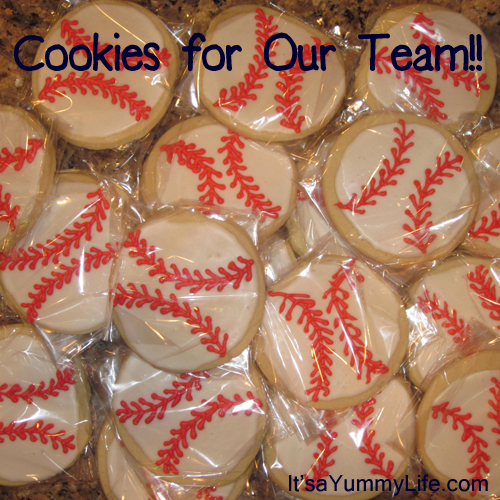
baseball cookies for the team

Baseball Fun and Fabric Flower Hair Clips

by Holly

Baseball Fun!!

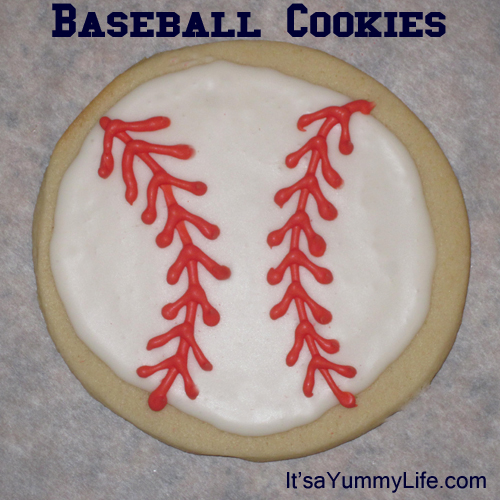
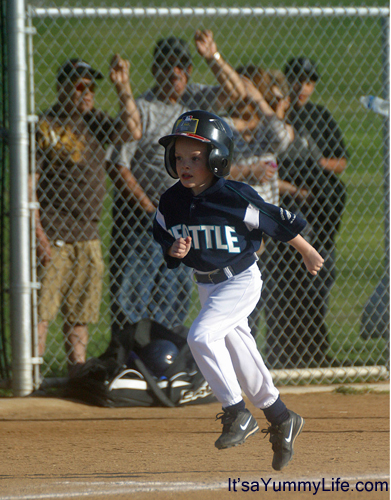
Jack is 5 and just started Baseball.  Sooooo, when it was our turn for snack, I just had to make baseball cookies.  They were super easy and  a hit!  Even the coaches loved them.  (Usually guys aren’t as excited about cute cookies, but these seemed to do the trick! They Loved them!)

Click here for the tutorial to make cookies: 

http://www.theyummyfactory.com/index.php?act=viewProd&productId=288

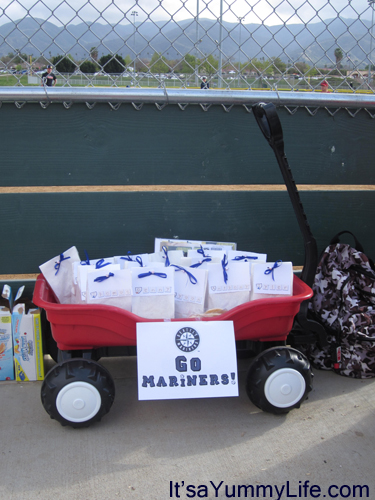
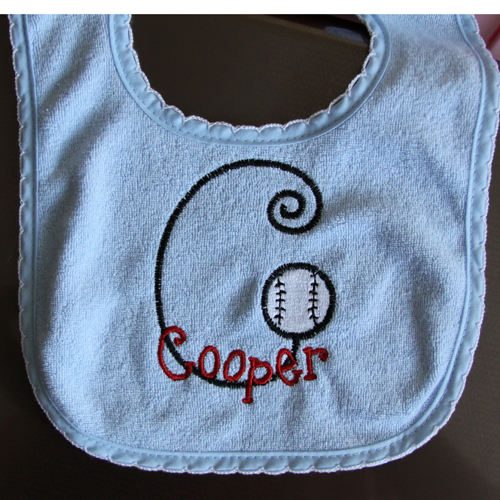
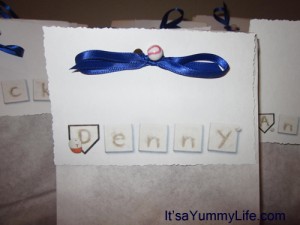
I bagged them  with other snacks and goodies, in white bags, added each players name in a baseball font, and tied with Blue (team colors) ribbon with this cute little baseball bead I bought at OrientalTrading.com  (also bought baseball stickers from OTC I used on the backs of the cookie bags to hold the bags shut, and to stick on top of the drink bottles.)  Super cute!!  The kids have had fun making baseball bracelets with the extra beads.  So glad I bought them.

 Here is my handy-dandy wagon I love to hang signs on…  It gets a lot of use…  Girl Scout cookies, Baseball snacks…  this wagon has some tales to tell…


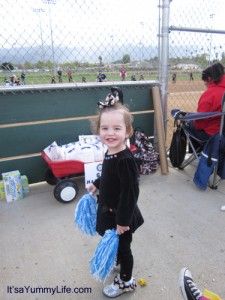
Rah Rah Rah!!  Ella is cheering Jack on!!  Go #8!!!

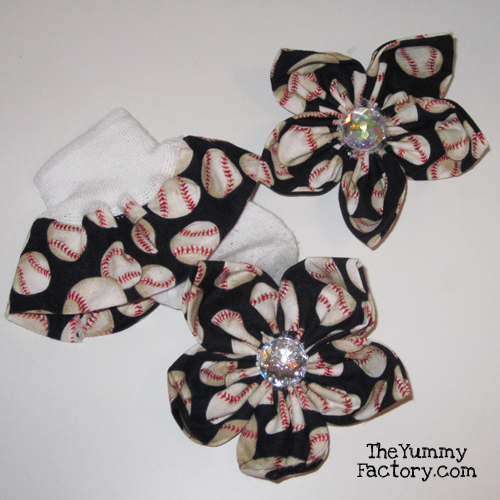
Here is a close up of the flower in her hair and the socks on her feet:

(See below for more flower clips)

Here is the Tutorial for the Socks:

http://www.theyummyfactory.com/index.php?act=viewProd&productId=344

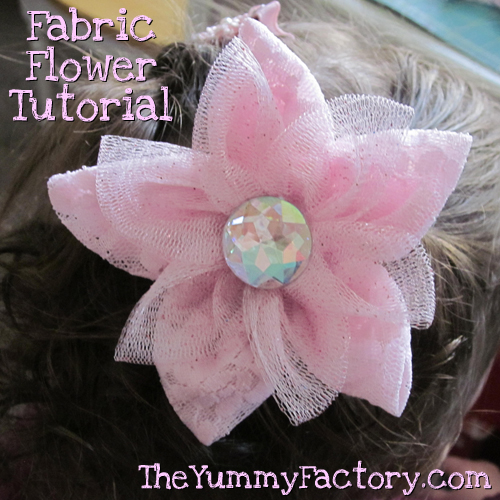
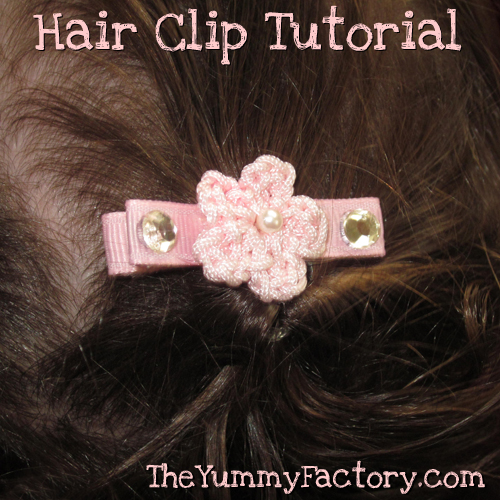
Here is the tutorial for the Fabric Flowers and Hair Clips

http://www.theyummyfactory.com/index.php?act=viewProd&productId=410

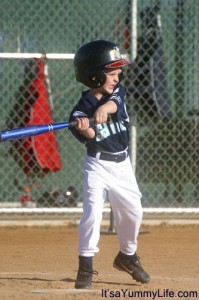
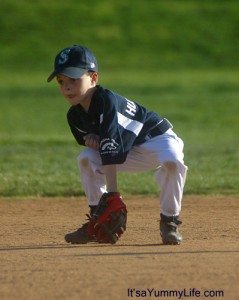
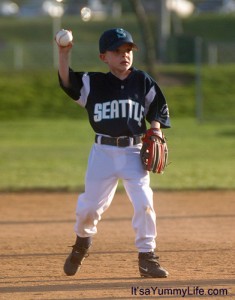
Here’s my little man coming in for a home run!!Batter UP!I got it!!  (love the tounge sticking out!!)#1 Pitcher

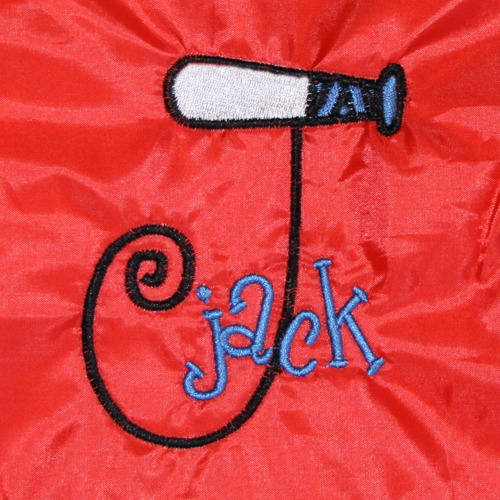
Here is TheYummyFactory Baseball Font:

http://www.theyummyfactory.com/index.php?act=viewProd&productId=308

Here is a double pink one I did with lace and tulle:

http://www.theyummyfactory.com/index.php?act=viewProd&productId=410

Covered Hair Clips for my little Ella Rose:


bunny bait

Bunny Bait & Bunny Nails

by Holly

Spring Break is happening over here!!  We decided to make some Bunny Bait for Family Movie Night, since we were seeing the movie “Hop” (BTW, was adorable!!) We just had to have a bunny snack. They kids loved it!  We let them plan the whole night.  We brought down blankets and pillows, put on our cozies, turned out all the lights, lit candles, and got to drink soda with our popcorn and Bunny Bait.  I must admit, even my husband and I thought the Bunny Bait was yummy!  You just have to try it!

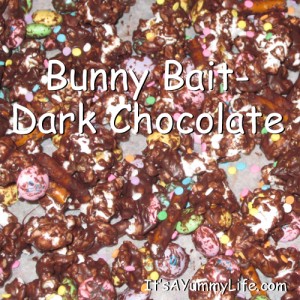
Anyway, our first batch, we used dark chocolate, (which I think tasted better, but not as cute)  (didn’t have white in the house) 


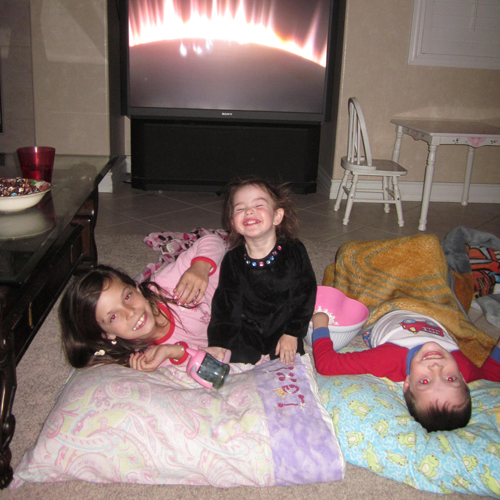
3 little Movie Buffs:

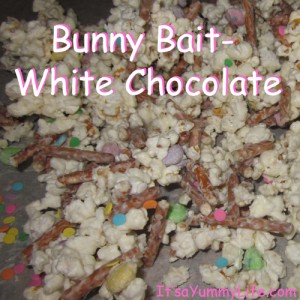
We loved it so much we decided to try it with white chocolate:

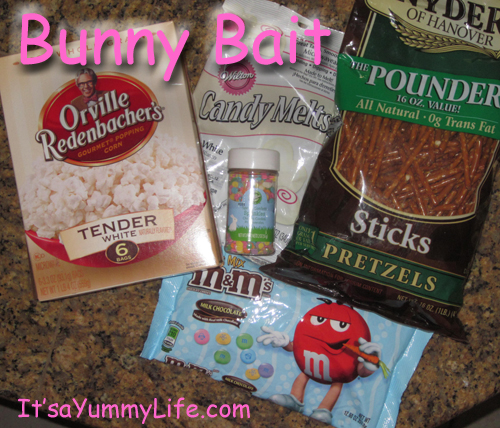
Here is what we used:

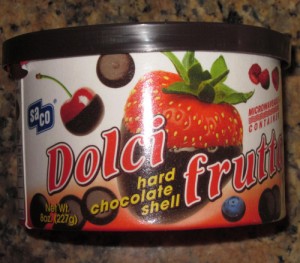
Here is the chocolate I used for the dark chocolate.  It was yummy yummy, just not as cute:

Pop popcorn, 1 bag.  Break a few hand fulls of pretzels, melt full bag of choc in microwave, (or jar as pictured above) pour over popcorn and pretzels, stir until coated completely. Add in bag of M&M’s, stir just a little so they stick, pour on to wax paper, sprinkle with sprinkles, and wait for it to dry.

original recipe from here: http://www.nestofposies-blog.com/2011/01/valentine-confetti.html

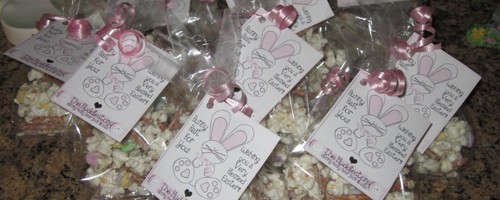
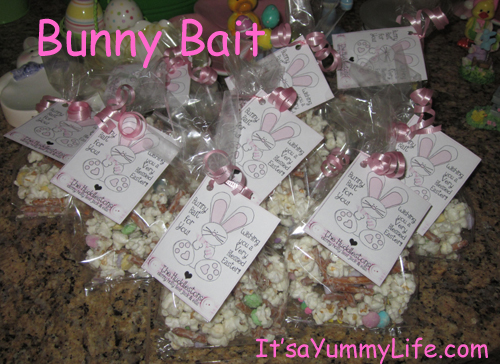
Here are some favors Lexi and I made to pass out to Lexi’s  Girl Scout Sisters.  Love it!!

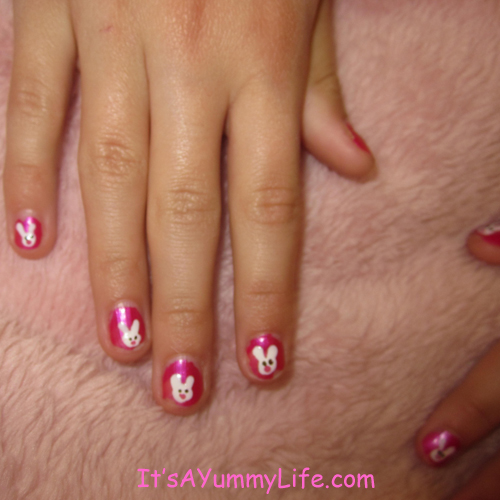
 Bunny Nails for Lexi

I painted these using the end of a stylus.  Super easy to do. Just pour our a little nail polish on a plastic surface.  Make 3 circles, (a bigger one for the face) and pull them together.  Dot. Dot. Dot. Eyes and a nose.  Volia!  Bunny Nails.

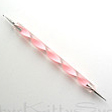
 Here is the stylus I have.  Love it!!  I use it to make perfect polka dots on nails.  Just pour out the color polish you want, and dot, dot, dot!! Great for flowers and Lady Bug Dots too!


Fairy Herb Garden

by Holly

Spring is in the Air!!  Time to grow a garden!!

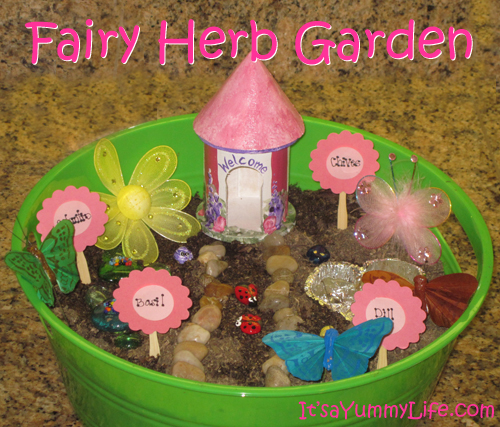
Mar 20th is the 1st day of spring, soooooooo, we decided to make a herb garden that would also welcome fairies!

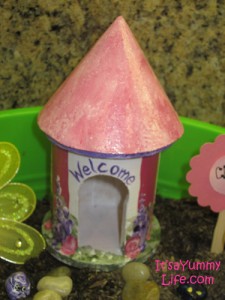
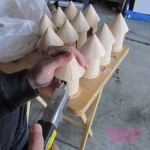
Turn a $1 bird house from JoAnn’s into a Fairy houseDraw Guidelines for a door    

Make husband stop what he is doing to cut out the doors.  (Fairy Emergency!)

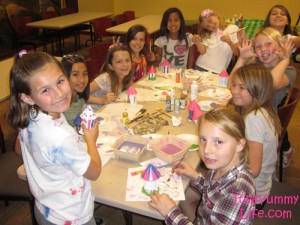
My Girl Scouts making gardens.  They all turned out sooo cute!!

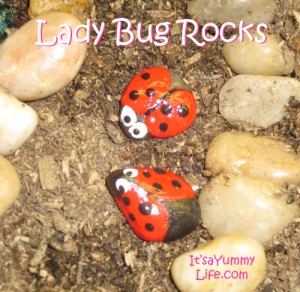
Paint some rocks to look like friendly bugs

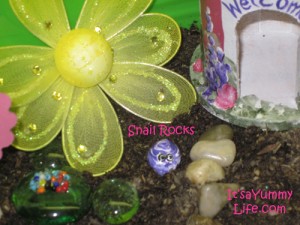
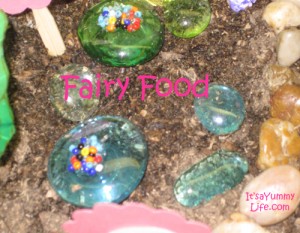
Leave some food for the fairies on tiny tables and chairs.  These are friendship beads, we know that real fairies like to eat a sugar and honey.

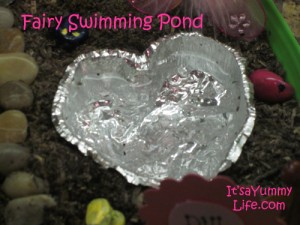
Fairies love to dance around the pond

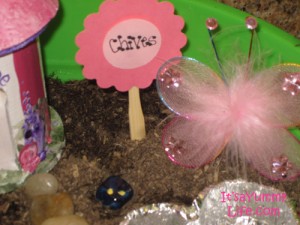
Make some signs for your garden.  We are growing herbs in this garden, but we also did a flower garden in another pot.  It’s fun to have them sitting on our kitchen counter.  Can’t wait to see a spout!! 

Maybe, just maybe, a fairy will visit.  :)


Valentine Freebies and DIY Heart Shaped Chips

by Holly

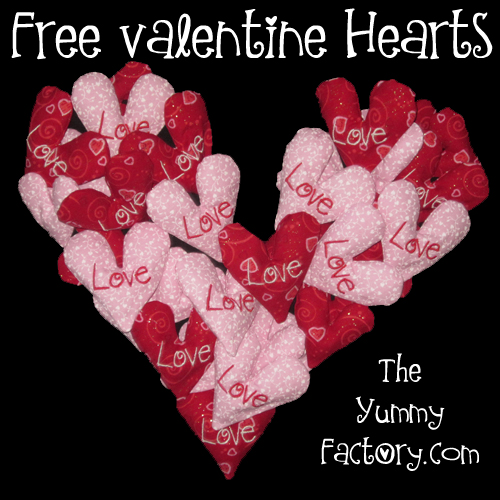
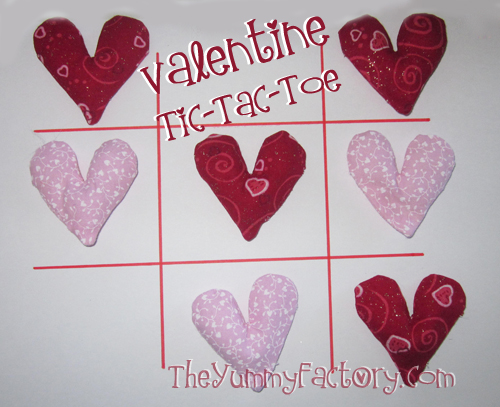
Getting excited for Valentines Day!! I just made them some hearts.  OK, a lot of them.  Enough to give one each day the 1st through the 14th of February for both Lexi and Jack.  I am planning on sticking them in pockets, in the car, in backpacks.  Just about any and everywhere I think they will look.  I am hoping it will remind them during their day how much I love them.  Each one can turned in for a piece of Valentine Candy.

Download free Valentine Hearts for a limited time on TheYummyFactory Facebook Page!!

http://www.facebook.com/TheYummyFactory

Or saved to play games.  Like Tic Tac Toe, Catch, or a Game of Toss with Heart Shaped 50- 100- 500 taped to the tile. :)

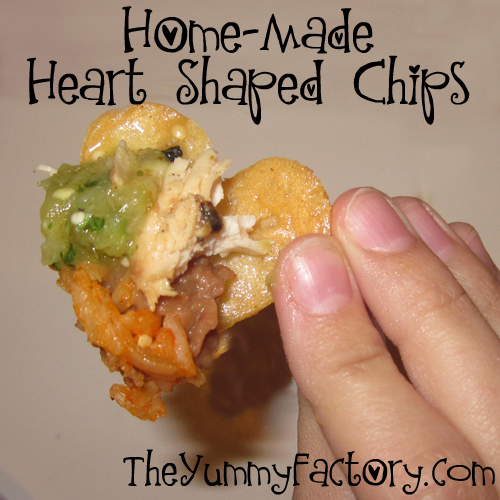
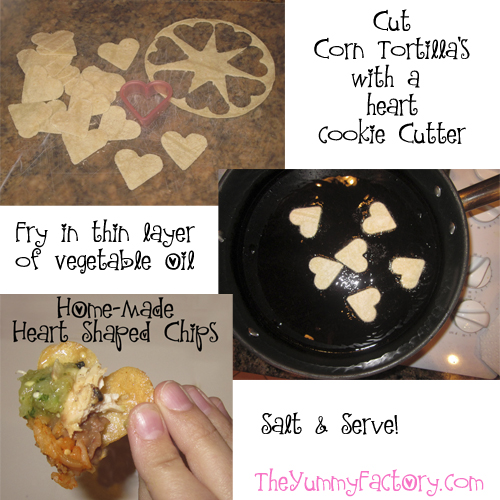
We (I actually mean, my husband) made Mexican food last night.  (My very Favorite!!  Hoping to get recipes down to blog about it.  Too tasty not to share with you!)  Anyway,  I made heart-shaped tortilla chips from regular corn tortillas.  Soooo ridiculously easy, yet, the kids had so much fun with them, you would have thought I invented sliced bread.  I see a lot more shaped chips in our near future.  Here is one of Lexi’s Heart Chips with her dinner stacked on it. 

This is how I made them:

Easy Right?  Now go make some.  You’re kids will think you are a genius!  They are too YUMMY not to!


Cupcake Wars Birthday Party with Cootie Catchers and Cupcake Game

by Holly

I must admit, I am a little obsessed with cupcakes.   Not so much eating them, just that they are so adorable!

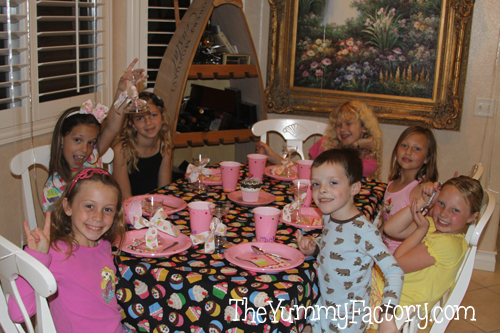
Lexi’s last birthday party was a Cupcake Wars theme.  The girls LOVED it!!

Come take a look-see:

The girls arrived, and we paired them up into teams of 2.  Each team had to pick a liner, a cake, a frosting, and could decorate however the wanted to.  I also bought flavoring for the frosting, so they could make it bubble gum, watermelon, or cotton candy.  They had food coloring for the frosting and cake if they wanted to change the colors along with some royal icing flowers and hearts I made a few days before, which are like eating candy dots.  Ya can’t eat just one.

Each team had a turn in the kitchen with the mixer
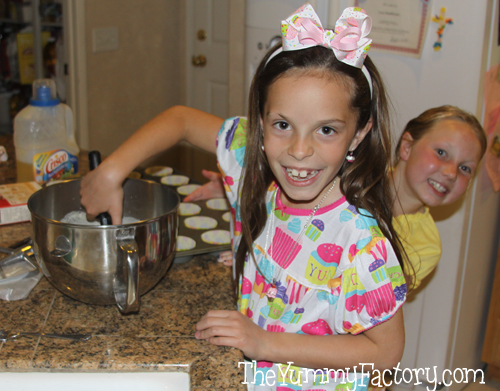
They frosted
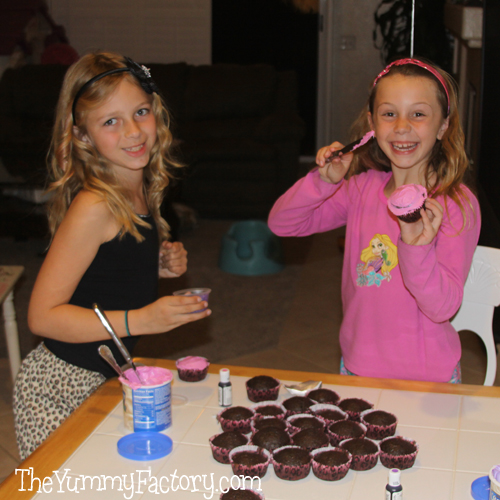
and Decorated
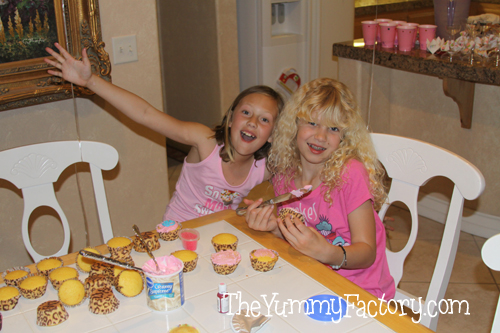
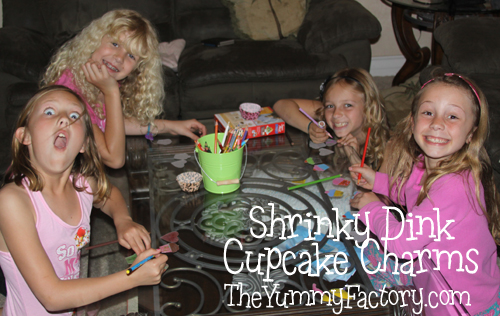
The made Charm Bracelets out of Shrinky Dinks.  I bought blank Shrinky Dink paper at Michaels, and printed about 6 different cupcake outlines.  Once they were done coloring and cutting out, I punched a hole with a hole puncher in the top of each one.  Baked, and made them into bracelets.  Cute little cupcake keepsake.
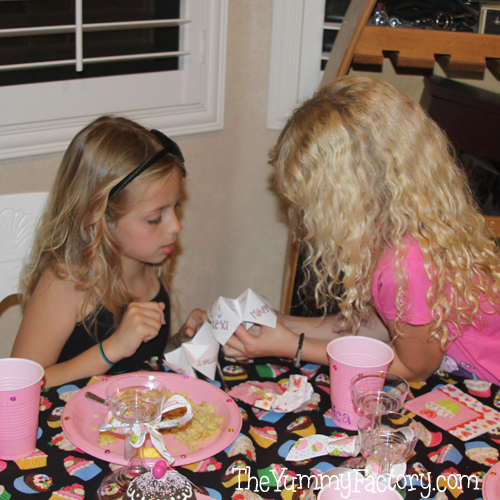
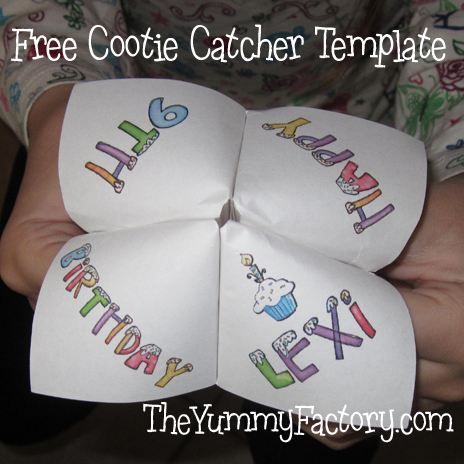
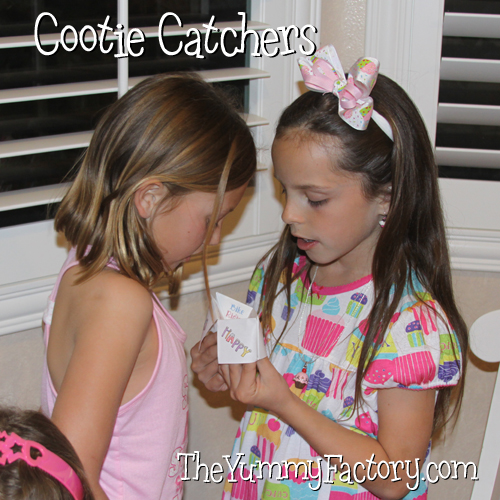
They also played with Cootie Catchers!!  I made these in Adobe Photoshop.  You can download my template for free and personalize them for your party or print a Birthday one.  I loved these when I was a little girl, and still do.  Aren’t they fun!  Click here:

http://www.facebook.com/TheYummyFactory
http://www.facebook.com/TheYummyFactory
As for the table-cloth,  I was happy to find this cupcake fabric at JoAnn’s.  I just finished the edges.  Easy Peasy.

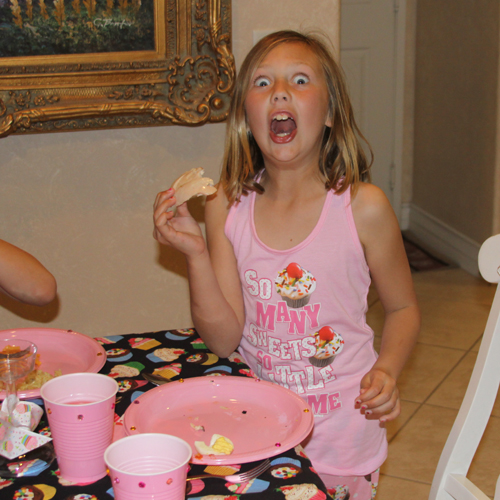
Yes.  I blinged the plates and cups.  They loved it!!  I also took jewelry wire and wrapped letter beads around their silverware and each girl got to take her set home with her.

I also bought Cupcake stands from orientaltrading.com  to display their creations. They were great, just a little on the flimsy side.  Not complaining for the price, just sayin, they aren’t Waterford.

Yes, Jack crashed the Girly Party!!

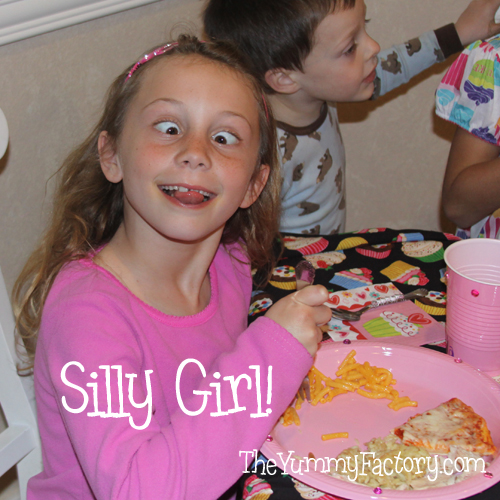
They are girly girls, so of course, they got silly silly!
Make a wish Lexi Monet!!  You’re 9!!
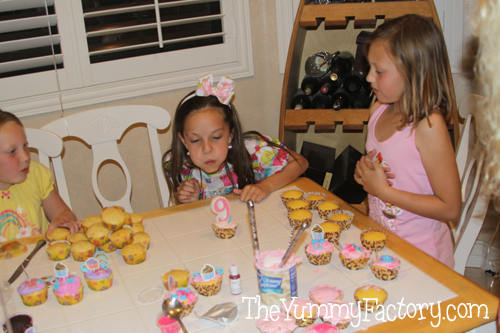
Wouldnt’ you know it, I didn’t get a pic of all the finished cupcakes.  Some of them were really cute.  They all displayed the best ones in the cupcake stands, and all won prizes for prettiest, funniest, cutest, most loveable, and a few other fun titles.  Then I packaged them all up in some clear cupcake containers I bought from the bakery. They each got an assortment to take home of everyone’s creations.

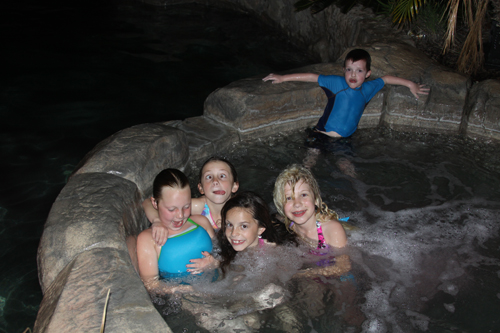
After all the cupcake fun, they went for a dip in the jacuzzi
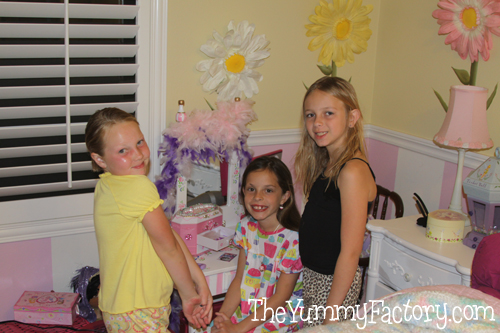
Had make-overs
Told some ghost stories
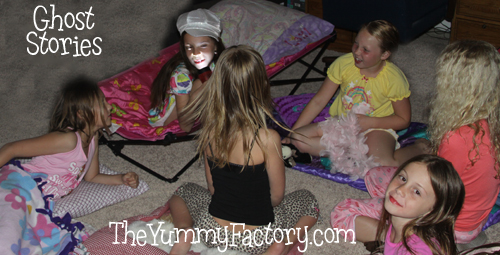
Stayed up half the night giggling.

In the morning, they all went on a treasure hunt to find goodie bags.

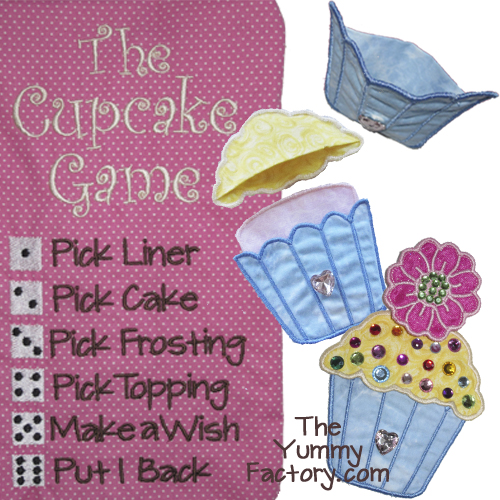
It was a really fun doing a cupcake party.  We have such great memories of it, it inspired me to designed the Bake a Cupcake game for her.  Out of everything I’ve ever sewn for her, this is her very favorite thing.  Take a look-see:

http://www.theyummyfactory.com/index.php?act=viewProd&productId=394
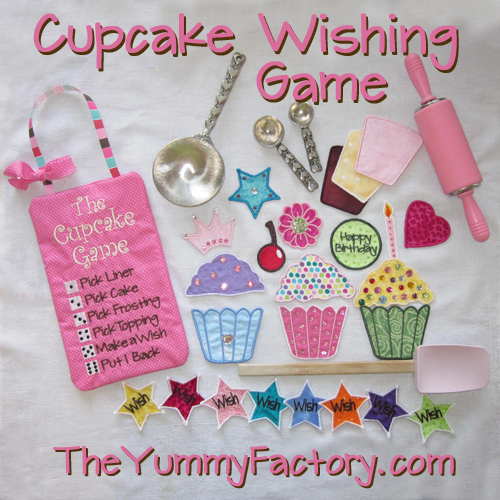
Free Wish for the Birthday Girl!!
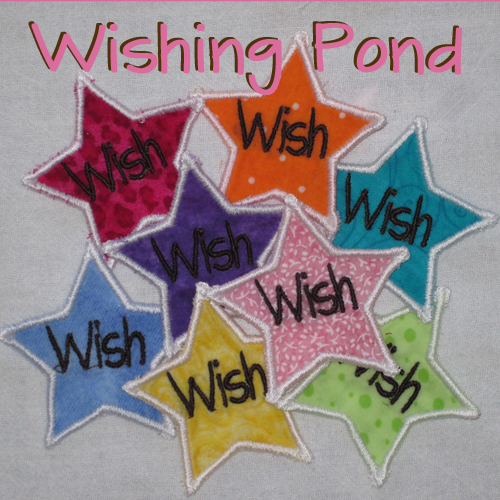
Hope you enjoyed Lexi’s 9th birthday as much as we did. It’s a theme with endless ideas.

Scrappy Theme by Caroline Moore | Copyright 2025 It's a Yummy Life dot com | Powered by WordPress